
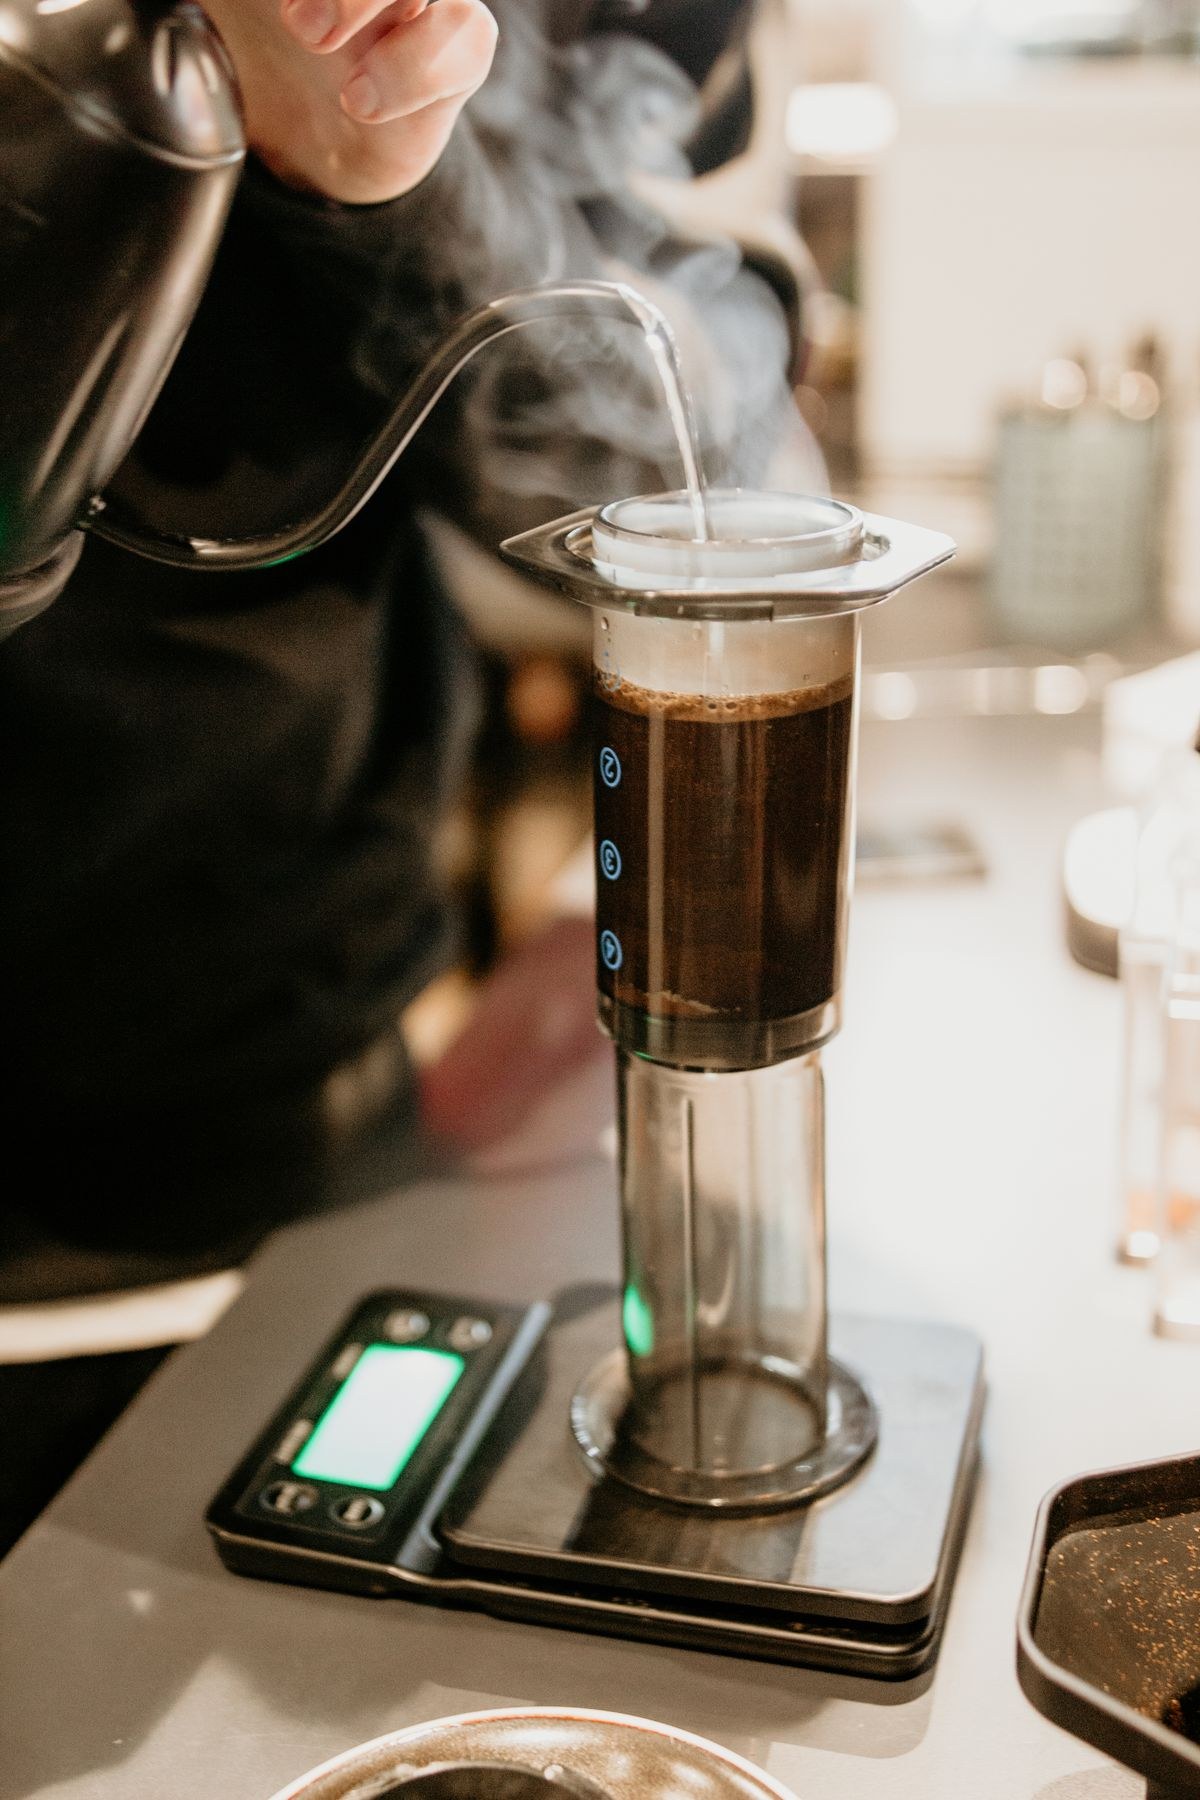
The AeroPress looks like lab equipment and brews like a dream, which is why so many sit unused in kitchen cabinets. You unbox it, stare at the plunger, the chamber, the little black cap, and the instruction leaflet reads like it was translated twice. Here is the truth: you can learn this brewer in a single cup. There are two ways to use it, the standard method and the inverted method, and this guide covers both with exact measurements, plus the water temperature your roast actually wants and the five mistakes every beginner makes.
What You Need Before You Start
You do not need a barista cart. The AeroPress is popular precisely because the gear list is short.
- AeroPress Original, which includes the chamber, plunger, filter cap, funnel, scoop, stirrer, and 350 paper filters
- Fresh coffee, ground medium-fine (think table salt)
- A kettle, any kind, though a gooseneck gives you more pouring control
- A kitchen scale, which matters more than any other accessory for repeatable cups
- A timer, your phone works fine
- A sturdy mug with a mouth wide enough to hold the chamber steady
You do not need a barista cart. The AeroPress is popular precisely because the gear list is short. A grinder earns its place if you buy whole beans, since pre-ground coffee loses aroma within days of opening, but you can absolutely start with a good bag of pre-ground coffee.
The Standard Method: Your First Brew
This is the method printed in the box, and the right place to start. The chamber sits on your mug the whole time, so there is no flipping and nothing to spill.
- Heat your water. For a medium roast, aim for 185 to 195°F (85 to 90°C). No temperature kettle? Bring water to a boil and let it sit for about a minute. Full temperature chart by roast level below.
- Rinse the filter. Drop a paper filter into the black cap, rinse under hot water, and twist the cap onto the chamber. Rinsing washes out papery taste and seats the filter flat.
- Add coffee. Stand the chamber on your sturdy mug and add 15 to 17 grams of medium-fine coffee, roughly one heaping AeroPress scoop. Shake gently to level the bed.
- Pour. Start your timer and pour water up to the 4 mark on the chamber, about 220 grams. Do not panic about the few drips that fall through into the mug. That is normal.
- Stir. Give the slurry a gentle stir for about 10 seconds so no dry pockets remain.
- Seal it. Insert the plunger half an inch, then pull up very slightly to create a vacuum that stops the dripping. Steep until your timer reads 1:30.
- Press. Press down slowly and steadily for about 30 seconds with gentle, even pressure. Stop when you hear the hiss, which means air is pushing through the grounds.
- Clean up. The filter cap will be hot, so run it under cool water first. Pop the cap off over a bin and push the plunger through to eject a neat puck of grounds. Rinse everything.
Two minutes, start to finish. That first cup will already beat most drip machines.
The Inverted Method: More Control, Richer Cup
Flip the brewer upside down and two things change: nothing drips through before you are ready, and you control the steep time completely. The trade is one slightly nerve-wracking flip.
- Set up upside down. Insert the plunger to the 4 mark, then flip the brewer so it stands on the plunger end. Make sure it sits stable.
- Add coffee and bloom. Add 15 to 17 grams of coffee. Start your timer, pour about 50 grams of water to soak the grounds, stir once, and let it bloom for 30 seconds while carbon dioxide escapes.
- Fill. Pour the remaining water to reach about 220 grams total. Stir once more.
- Cap it. Rinse your paper filter, place it in the cap, and screw the cap on snugly. This is not the moment for a loose cap.
- Flip with confidence. At 1:45, place your mug upside down over the cap, grip mug and brewer together firmly, and flip in one smooth, committed motion. Hesitation causes spills.
- Press. Press slowly for about 30 seconds and stop at the hiss, exactly like the standard method.
The cup is a touch fuller and sweeter than the standard method, because every drop of water stayed in contact with the grounds. Most competition brewers use some version of this method, which tells you something.
Standard vs Inverted: Which Should You Use?
Neither method is objectively better. They solve different problems.
| Standard | Inverted | |
|---|---|---|
| Ease for beginners | Easier, no flipping involved | Takes a few tries to flip cleanly |
| Drip-through | Some dripping (fixed with the vacuum seal trick) | None at all |
| Cup character | Cleaner, brighter | Fuller, sweeter, more body |
| Best for | Rushed mornings, first-timers | Weekend brewing, experimenting with recipes |
| Spill risk | Almost zero | Low once you commit to the flip |
My suggestion: learn the standard method first and brew it for a week. Once pressing feels automatic, switch to inverted. You will taste the difference immediately, and by then the flip will feel easy.
Water Temperature: Match It to Your Roast
This is where most online guides get vague, telling you everything from 175°F to 205°F without explaining why. The real answer depends on your roast, because darker roasts extract faster and turn bitter in water that is too hot.
| Roast level | Water temperature | Why |
|---|---|---|
| Light roast | 195 to 205°F (90 to 96°C) | Hotter water pulls out delicate fruity and floral notes |
| Medium roast | 185 to 195°F (85 to 90°C) | The balanced middle ground for most specialty coffee |
| Dark roast | 175 to 185°F (79 to 85°C) | Cooler water keeps smoky roasts smooth instead of ashy |
No thermometer? Boil your kettle, then wait. About 30 seconds off boil lands near 200°F, a full minute gets you close to 190°F, and two minutes drops to roughly 180°F. Close enough to taste the difference.
5 Beginner Mistakes and the Fix for Each
Almost every bad first cup comes from this list. Check it before you change beans or blame the brewer.
1. Pressing too hard and too fast. The plunger should glide down over 20 to 30 seconds. Forcing it squeezes out bitterness. If you are straining, your grind is too fine, not your arms too weak.
2. Grinding too fine. Espresso-fine coffee chokes the paper filter and turns the plunger into a stuck piston. Back off to table salt texture.
3. Using boiling water on dark roasts. Fresh-off-boil water scorches dark roasts. Dark roast plus 175 to 185°F water is a much sweeter cup.
4. Flipping timidly. The number one cause of inverted-method spills is a hesitant, wobbly flip. Mug pressed firmly against the cap, one smooth rotation, done. Practice once with just water if you are nervous.
5. Storing the plunger half-inserted. This compresses the rubber seal and wears it out months early. Store it pushed all the way through or completely separated.
Taking Care of Your AeroPress
Daily care is almost nothing: eject the puck, rinse the parts, done. Monthly, pull the rubber seal off the plunger and wash underneath it, where old oils hide and turn rancid.
Paper filters are compostable and cheap in bulk. A reusable metal disc exists if you want zero waste and a heavier-bodied cup, since metal lets more oils through. A valid upgrade, not a required one.
Frequently Asked Questions
Can an AeroPress make real espresso?
No. Real espresso needs about 9 bars of pressure; a human arm delivers a fraction of that. What the AeroPress makes is a concentrated, espresso-style shot that works beautifully in lattes and Americanos. Delicious, just not espresso.
Paper filter or metal filter?
Paper gives you the signature clean, grit-free cup. Metal gives you more body and zero ongoing filter cost. Start with paper, try metal later if you are curious.
How much coffee should I use?
Start with 15 to 17 grams of coffee to 220 grams of water, roughly a 1:14 ratio. The included scoop holds about two tablespoons, but grind size changes that, so weigh your dose once and you will know your scoop forever.
Why does my coffee taste sour or bitter?
Sour usually means under-extraction: grind finer, steep longer, or use hotter water. Bitter usually means over-extraction: grind coarser, shorten the steep, or cool the water. Change one variable at a time.
Conclusion
Learn the standard method this week and the inverted method next week, match your water temperature to your roast, and avoid the five mistakes above. Do that and your AeroPress will quietly become the most-used brewer in your kitchen. The little plastic tube earns its counter space.
