
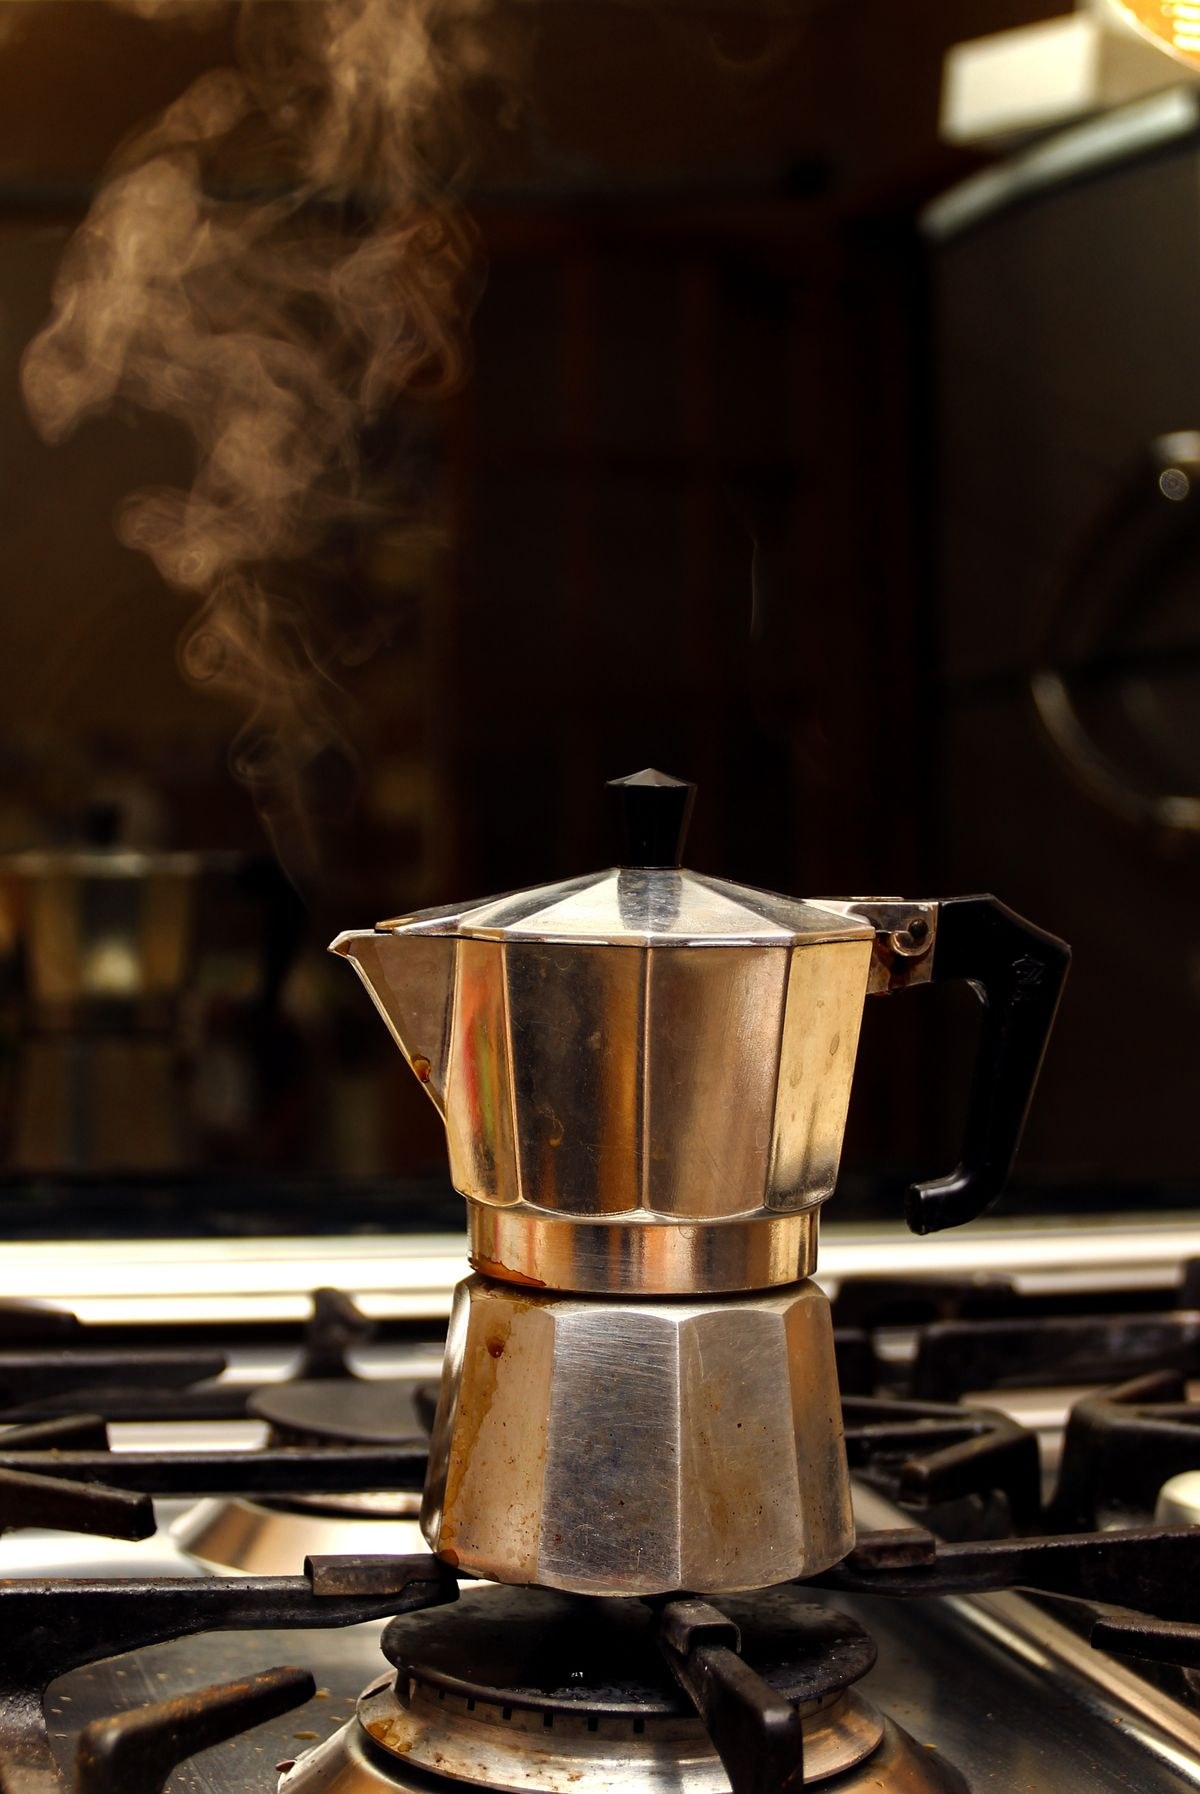
The moka pot has been making strong stovetop coffee since 1933, and it is still the cheapest way to get an espresso-style brew at home. But most first attempts taste bitter, burnt, or metallic, which gives this little brewer an unfair reputation. The truth is that nearly every bad moka pot cup comes from the same handful of fixable mistakes: wrong grind, too much heat, and leaving the pot on the burner too long. This guide walks you through the right way to brew, the size to buy, and the one trick that fixes burnt coffee for good.
Which Moka Pot Should You Buy?
Moka pots are sized in tiny 2-ounce “cups,” not mugs. A 6-cup pot brews about 10 ounces total, which is two small mugs. Buy for how much you actually drink, because a moka pot only works well when brewed full. Half-filling a big pot gives you weak, under-extracted coffee.
| Pot size | Water | Coffee | Actual yield | Good for |
|---|---|---|---|---|
| 3-cup | 150 ml | 15 to 17 g | About 5 oz | One strong mug |
| 6-cup | 300 ml | 30 to 35 g | About 10 oz | Two mugs, the most popular size |
| 9-cup | 450 ml | 45 to 50 g | About 15 oz | Three to four drinkers |
Aluminum or stainless steel? Classic aluminum pots (like the original Bialetti) are cheap and heat fast, but they do not work on induction stoves and some people dislike the metallic taste before the pot seasons. Stainless steel costs more, works on induction, and cleans up easier. Either one makes great coffee once you learn the technique.
Bialetti Moka Express (about $35 for 6-cup)
- Pros: The original 1933 design, inexpensive, brews an excellent cup, replacement gaskets are easy to find.
- Cons: Aluminum only, so no induction stoves; hand wash only.
Bialetti Venus (about $55 for 6-cup)
- Pros: Stainless steel works on all stovetops including induction, no metallic seasoning period, dishwasher safe.
- Cons: Costs more, slightly slower to heat than aluminum.
The Brew, Step by Step
Once you have done this three or four times, it becomes second nature. The whole process takes about five minutes.
- Boil your water separately. Bring a kettle to a boil, then let it sit for 30 seconds. Starting with hot water (around 200°F) is the single biggest upgrade most beginners can make, because it keeps the grounds from baking on the burner while the water heats up.
- Fill the bottom chamber with the hot water up to just below the safety valve. That little nub on the inside wall is the max fill line. Never go above it.
- Grind medium-fine, like table salt. Fill the filter basket level to the rim and smooth it with your finger. Do not tamp or press it down. Tamping chokes the pot and turns the coffee bitter. If you are buying pre-ground, skip anything labeled espresso grind, since it is usually too fine. Look for coffee labeled for moka pots, or better yet, grind fresh with a good espresso grinder set a few clicks coarser than espresso.
- Assemble the pot. Set the basket into the base, then screw the top chamber on firmly. The base is hot from the water, so grip it with a towel.
- Place on medium-low heat with the lid open. High heat is the number one cause of bitter moka pot coffee. You want a slow, steady extraction, not a blast.
- Watch and listen. After 2 to 3 minutes, coffee will start flowing into the top chamber in a steady stream the color of warm honey. If it sputters and spits, your heat is too high. Turn it down.
- Pull it at the gurgle. When you hear gurgling or hissing, the water is gone and steam is pushing through dry grounds. Take the pot off the heat immediately, then run the base under cold tap water for a few seconds to stop the extraction dead. Stir the coffee in the top chamber and serve right away.
The Cold-Water Trick That Fixes Burnt Coffee
If your moka pot coffee always tastes ashy or burnt, this is probably why: after you take the pot off the burner, the hot metal keeps cooking the grounds and the last bitter dregs keep dripping into your cup. Running the base under cold water the moment you hear the gurgle stops extraction instantly. It takes five seconds and it makes a bigger difference than any bean or grinder upgrade. Some brewers even pour the finished coffee into a warm mug right away instead of letting it sit in the pot, since the residual heat keeps working on it.
Troubleshooting: What Went Wrong and How to Fix It
| Problem | Likely cause | Fix |
|---|---|---|
| Bitter, burnt taste | Heat too high, or left on the burner past the gurgle | Use medium-low heat, pull at the gurgle, cold-water rinse the base |
| Weak, watery coffee | Grind too coarse, or pot not filled fully | Grind finer (table salt), always brew a full basket |
| Sputtering and spitting | Heat too high | Lower the flame; the flow should look like warm honey |
| Metallic taste | New aluminum pot not seasoned yet | Brew and discard 2 to 3 pots; the taste fades as the pot seasons |
| Coffee leaking around the seal | Worn gasket, or grounds on the rim | Wipe the rim clean; replace the gasket if it is flattened or cracked |
| Barely any coffee comes out | Grind too fine and choking the filter | Coarsen the grind; never tamp the basket |
Cleaning and Maintenance
A moka pot is simple, but a little care keeps it brewing well for years.
- Rinse, do not scrub. After each brew, rinse all parts with hot water and let them air dry completely before reassembling. For aluminum pots, skip the dish soap. It strips the seasoned patina that protects against metallic taste. Stainless steel pots are more forgiving and can handle a mild soap.
- Never put it away wet. Trapped moisture corrodes aluminum and breeds off flavors. Store the pot disassembled or with the lid open.
- Replace the gasket about once a year. The rubber gasket and filter plate wear out with heat and pressure. When coffee starts leaking around the seal or the brew weakens for no clear reason, a fresh gasket (a few dollars) usually fixes it.
- Descale occasionally. If you have hard water, run a brew cycle with equal parts water and white vinegar every couple of months, then rinse thoroughly and brew one throwaway pot of coffee.
- Do not leave brewed coffee sitting in the pot. Pour it out right after brewing. Coffee left sitting on hot metal keeps extracting and turns bitter within minutes.
FAQ
Does a moka pot make real espresso?
No. True espresso needs about 9 bars of pressure, and a moka pot makes roughly 1.5. What you get is a strong, concentrated coffee that works beautifully as an espresso-style base for lattes and cappuccinos. Try it with the milk from our how to froth milk at home guide.
Can I use pre-ground coffee in a moka pot?
Yes, but choose carefully. Most drip-labeled pre-ground coffee is too coarse and tastes thin, while espresso-labeled grinds are usually too fine and choke the pot. Coffee labeled for moka pots is ideal. Freshly ground beans beat all of them.
Why does my moka pot taste bitter even on low heat?
Check two things: stale beans and grind size. Old coffee tastes flat and bitter no matter what you do, and a grind that is too fine over-extracts. Fresh beans at a table-salt grind fix most cases.
How long does brewing take?
About 5 minutes total with preheated water: 2 to 3 minutes for coffee to start flowing, then another minute or two to fill. If your pot finishes in under 3 minutes, the heat is too high. Past 8 or 9 minutes, it is too low.
Is the aluminum in moka pots safe?
Aluminum moka pots have been used daily in Italy for 90 years. The brewing is brief and the pot quickly develops a protective patina. If it still concerns you, a stainless steel pot removes the question entirely and works on induction.
Conclusion
The moka pot rewards a little patience and punishes shortcuts. Start with hot water, grind to table salt, keep the heat medium-low, pull at the gurgle, and rinse the base cold. That is the whole secret, and it is the difference between the ashy cup that puts people off and the rich, sweet brew this little pot is famous for. If you ever want to compare it against the real thing, our espresso machine buying guide breaks down what each budget gets you.
